

Why authentic photography is your strongest marketing asset
In the mobile beauty industry, your portfolio is your storefront. Potential clients browsing directory listings on Naildexo or discovering your profile on Instagram will spend less than five seconds evaluating your imagery before deciding whether to book or click away.
However, modern beauty consumers are increasingly skeptical of hyper-filtered, airbrushed imagery. Social media is saturated with heavily edited photos where cuticles are blurred into smooth plastic oblivion, skin texture is erased, and saturation is cranked up to artificial neon levels. Discerning, high-paying clients recognize that heavy digital editing often hides poor cuticle prep, flooded sidewalls, and uneven apex architecture.
An authentic, crisp, high-definition portfolio that highlights true technical skill—sharp sidewalls, glass-like reflection lines, and healthy, non-irritated skin—builds immediate trust and justifies premium pricing. Your photos should demonstrate that your real-world work looks even better in person than on a screen.
Mastering portable lighting in challenging home environments
For a mobile nail technician, lighting is the single greatest photographic challenge. Unlike a salon equipped with studio softboxes, you must photograph in client kitchens, dining rooms, and hallways with unpredictable illumination.
Overhead residential lighting creates harsh, unflattering yellow casts (2700K warm incandescent bulbs) and deep shadows under client knuckles. Conversely, direct unshielded flash creates blinding white hot-spots across glossy top coats that obliterate nail art detail.
- Use a portable continuous LED light: Carry a compact, battery-powered LED panel with a high Color Rendering Index (CRI 95+) and adjustable color temperature set to neutral daylight (5000K–5500K).
- Diffuse your light source: Place a translucent silicone diffuser or white tracing paper over your light. Soft, diffused lighting creates a clean, unbroken white reflection line (the 'light tunnel') along the nail plate, proving that your builder gel overlay is perfectly self-leveled without dips or ridges.
- Avoid mixed lighting temperatures: Turn off warm domestic room lamps before shooting so that your neutral LED light is the sole light source hitting the hand.
| Parameter | Recommended Setting | Why It Matters | Common Mistake to Avoid |
|---|---|---|---|
| Color Temperature | 5000K – 5500K (Pure Daylight) | Renders gel colors true to life without yellow or blue casts | Shooting under 2700K warm domestic ceiling bulbs |
| Light Diffusion | Translucent silicone diffuser or softbox | Creates smooth, unbroken reflection line ('light tunnel') | Bare harsh ring light creating blinding white glare dots |
| Camera Angle | Parallel to nail plate / 45° elevation | Captures true lateral sidewall alignment and apex curve | Wide-angle downward tilt that makes fingers look short & wide |
| Focus Point | Manual focus locked on cuticle / apex boundary | Guarantees tack-sharp crispness on technical prep work | Autofocus locking onto client knuckles or background fabric |
| Post-Processing | Subtle exposure & white balance adjustment only | Preserves authentic texture and honest technical skill | Airbrushing cuticles or digitally smoothing bumps in gel |
The 4 essential angles every nail portfolio requires
A complete portfolio entry should showcase more than just a single flat angle. Capture these four standard perspectives to showcase the full depth of your craftsmanship:
1. The Relaxed Hero Top-Down Shot
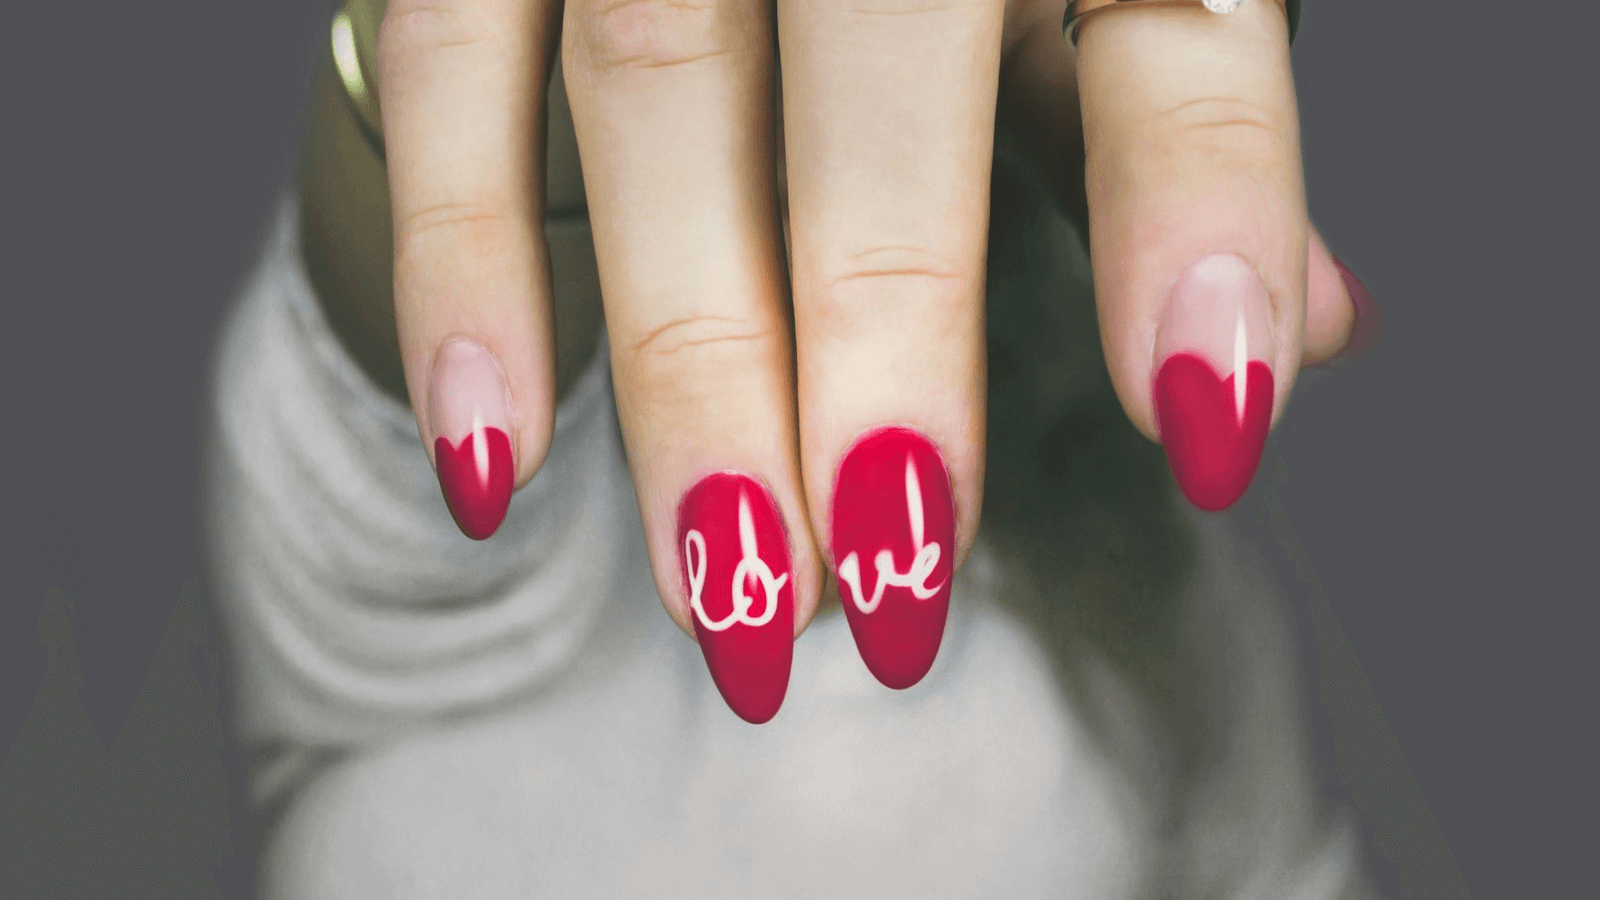
The classic portfolio shot showing all five fingers (or four fingers with the thumb tucked gracefully beside). The hand should be gently relaxed, fingers curved in a soft natural arch rather than stiff claws. This angle displays overall shape consistency, length balance, and color harmony.
2. The Apex & Architecture Profile
A side-elevation shot taken at eye level with the nail plate. This technical angle proves that you understand structural engineering: it showcases the smooth elevation of the apex over the stress area, the clean taper toward the free edge, and the crisp, non-drooping lateral lower arch.
3. The Cuticle & Sidewall Macro
A macro close-up focused tightly on two or three nails. This separates master technicians from novices. It displays flawless dry cuticle prep: pristine skin folds with zero redness or ragged hangnails, and an immaculate, razor-thin product perimeter that never touches the proximal fold.
4. The Detail / Thumb Showcase
Thumbs are the largest canvas on the hand, yet they are frequently neglected in photos. A dedicated shot of the thumb is ideal for showcasing intricate hand-painted nail art, chrome pigment reflections, or 3D gem clusters.
Hand posing techniques, props, and clean background styling
Clients are rarely professional hand models. When told to pose, most people tense their fingers into rigid, awkward positions that look unflattering on camera.
Coach your client into natural relaxation. Ask them to take a deep breath, shake out their hands, and let their fingers curl naturally as if resting lightly on a cloud ('soft ballerina fingers'). Avoid extreme gripping poses where knuckles turn white with tension.
Utilize subtle props to give the client's fingers something natural to rest against: a neutral matte dropper bottle of cuticle oil, a textured beige bouclé fabric, a clean ribbed ceramic cup, or a soft linen towel. Keep backgrounds strictly neutral and uncluttered. Ensure no domestic items—such as TV remotes, dirty coffee mugs, or electrical cords—intrude into the frame.
Ethical editing standards, color fidelity, and client privacy
Post-processing should enhance the accuracy of your photo, not falsify your technical ability.
Acceptable editing includes: cropping the image to balance composition, straightening the horizon line, adjusting exposure so the photo is bright and clear, and fine-tuning white balance so the gel polish color matches its true real-life hue on calibrated screens.
Strictly avoid dishonest retouching: never use blurring tools or face-tuning software to smooth over flooded cuticles, erase bleeding skin, or digitally reshape crooked sidewalls. When clients book you based on artificially edited photos, they will feel disappointed when their real-world nails do not match the digital fantasy.
Finally, protect your clients' privacy. Always obtain explicit verbal and written consent before taking photos. Ensure that distinctive personal jewelry, identifiable home interiors, family portraits in the background, or tattoos are excluded unless the client specifically approves their inclusion.